Family | Life | Food | Travel

02 December 2013

3D Christmas Tree Craft

I remember doing this craft at school when I was little, my parents still bring it out each Christmas, so I thought it would be nice to create some 3D Trees with the Mini Mes too!

It's very simple to do and ideal for building hand eye coordination and fine motor skills for toddlers and pre-schoolers in particular. It's still a nice decorative piece for older kids (and grown ups) too.


Equipment
Coloured card
Scissors
Pencil
Glitter Pom Poms
Glue Dots

Firstly, you need to draw a Christmas tree onto a sheet of green card, making sure both sides are identical so that it will balance and stand up once complete.
Next, put another sheet of card behind it and cut the drawing out so there are two identical trees.


Cut a slit in one tree from the base to the centre and then cut a slit from the top to the centre on the other tree. This is so they slot together.

Decorate your trees with whatever you wish. 
We used glue dots to minimise mess and glittery pom poms for a festive look! We got these and some other Christmas craft materials from Yellow Moon.


Once you slot the two pieces together they should stand alone.
You can add a star on top too for a finishing touch.


What Christmas crafts have you been making?


Share:

29 November 2013

Homemade Button Christmas Tree Art


We were lucky enough to be selected as 1 of 30 bloggers to be provided with a huge hamper of beautiful craft materials from Country Baskets. The idea was to create a decoration, complete with a tutorial on how to make it, for the chance of winning a voucher for myself and a donation to a charity of my choice; Protate Cancer UK for all of the men, including my Mr, that are involved with Movember this month.
Fingers crossed!

We are a family that loves to get crafty, especially at Christmas, so I handed the reins over to the Mini Mes and with a little help with the glue gun they made some pretty festive items. Our initial thought was a wreath but we decided to create something a little more quirky...

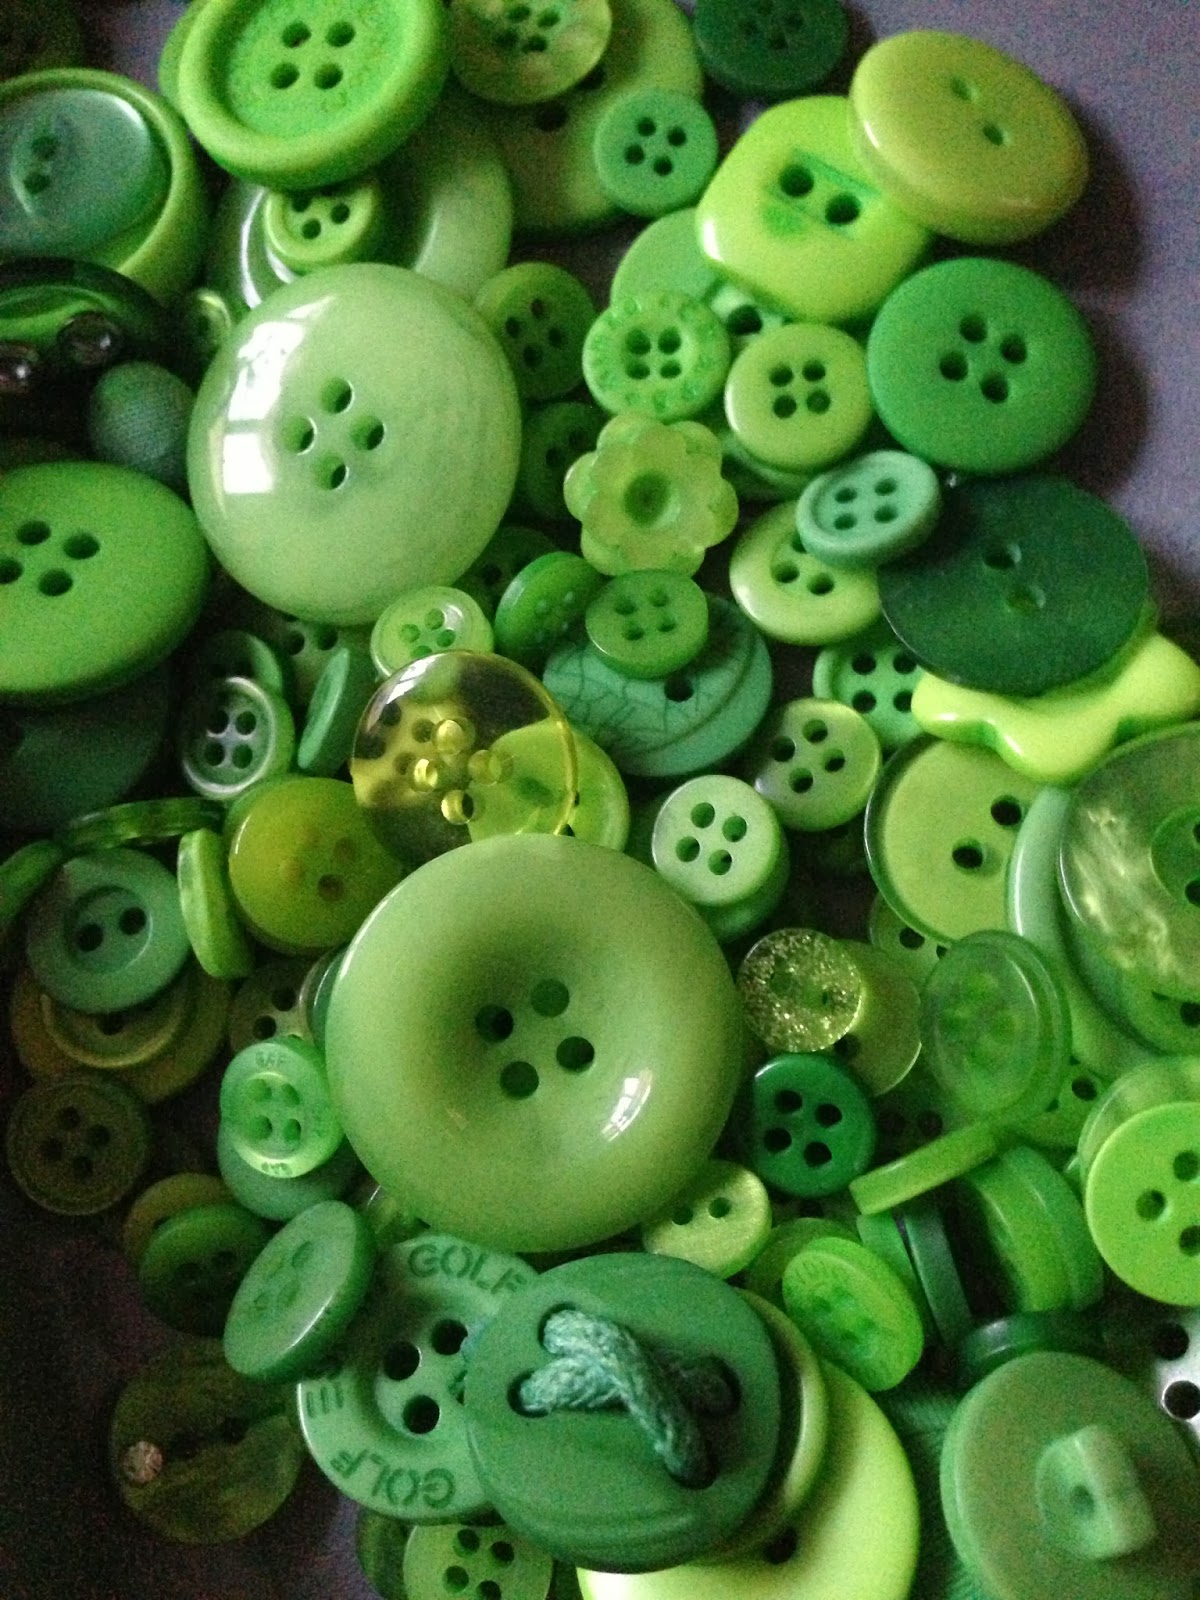
Minxy lined up all of the buttons on top of the sheet of bark and then took each one and glued it down.
She added a floral shaped one to represent the star on top and square ones to represent the trees pot.


We then trimmed some coloured wire, made a small hole in either side of the bark and made a loop to hang the button art up on the wall. By folding over the ends of the wire it stayed in place. 

With some of the other materials Minxy and Jamster made a star tree topper using a polystyrene star, pink gems and wire and tree decorations using wooden hearts and pink gems.


What items will you be making this Christmas?


Share:
Blogger Template Created by pipdig